This project is a small demo showing how to use Azure AI Projects with a custom Agent and expose it through a simple Streamlit UI.
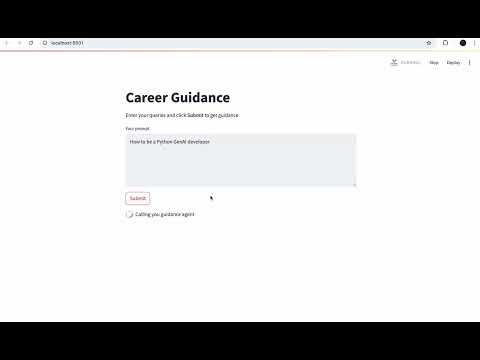
Users type a career-related prompt (e.g., “Guide me for Python backend developer”) and the Azure Agent returns a structured, helpful response in Markdown.
pip install --pre "azure-ai-projects>=2.0.0b1"
pip install azure-identity
pip install openai
pip install python-dotenv
pip install streamlit=1.45
Since I am using agent built from Azure AI Foundary by so you will need to create agent there by going to Microsoft Foundry
and then from your local you need to configure Azure login using
az loginIf you don't have azure cli installed you can do it using brew. Now being a developer don't ask me how to do that, not everything can be vibe coded, just search it on google and do that.
The project is split into two parts:
-
main.py- Connects to Azure AI Projects
- Creates or references a career-guidance agent
- Sends the user prompt
- Prints the agent's response in Markdown
- Used internally by Streamlit (run as a subprocess)
-
app.py- Streamlit interface
- Textbox for user prompt
- A Submit button
- Calls
main.pyand displays its output nicely
git clone https://github.com/ayushdoesdev/career-guidance-agent.git
cd career-guidance-agentpython -m venv venv
source venv/bin/activate # macOS/Linuxpip install -r requirements.txt(Include Streamlit + Azure SDK packages in your requirements.txt.)
Create a .env file:
AZURE_EXISTING_AGENT_ID="career-guidance-agent:1"
AZURE_ENV_NAME="..."
AZURE_LOCATION="..."
AZURE_SUBSCRIPTION_ID="..."
AZURE_EXISTING_AIPROJECT_ENDPOINT="..."
AZURE_EXISTING_AIPROJECT_RESOURCE_ID="..."
AZURE_EXISTING_RESOURCE_ID="..."
Make sure you have authenticated using
az loginor have set service principal credentials.
Start Streamlit:
streamlit run app.pyEnter a prompt, click Submit, and the response from your Azure Agent will be displayed.
.
├── main.py        # Handles Azure agent communication and prints response
├── app.py         # Streamlit UI
├── .env           # Environment variables (not committed)
└── requirements.txt
- Simple, clean UI for user prompts
- Markdown response rendering
- Uses Azure AI Projects agent
- Modular design (UI + agent code separated)
- Streamlit calls
main.pyas a subprocess, so the output frommain.pymust be clean Markdown. - Agent creation happens inside
main.py. If you already have an existing agent, setAZURE_EXISTING_AGENT_IDto avoid creating new versions. - Make sure you run Streamlit from the same environment that has the Azure SDK installed.